Содержание
In this article I’ll give you instructions to make a small electric heater which works on 12volts and gives power estimated in 80Watt.
Its benefit is in giving a nice little warm breeze and keeping your hands warm.

This model was designed by me.
Step 1: Parts And Tools
The parts you will need:
4x4x1 cm 12-volt computer fan;
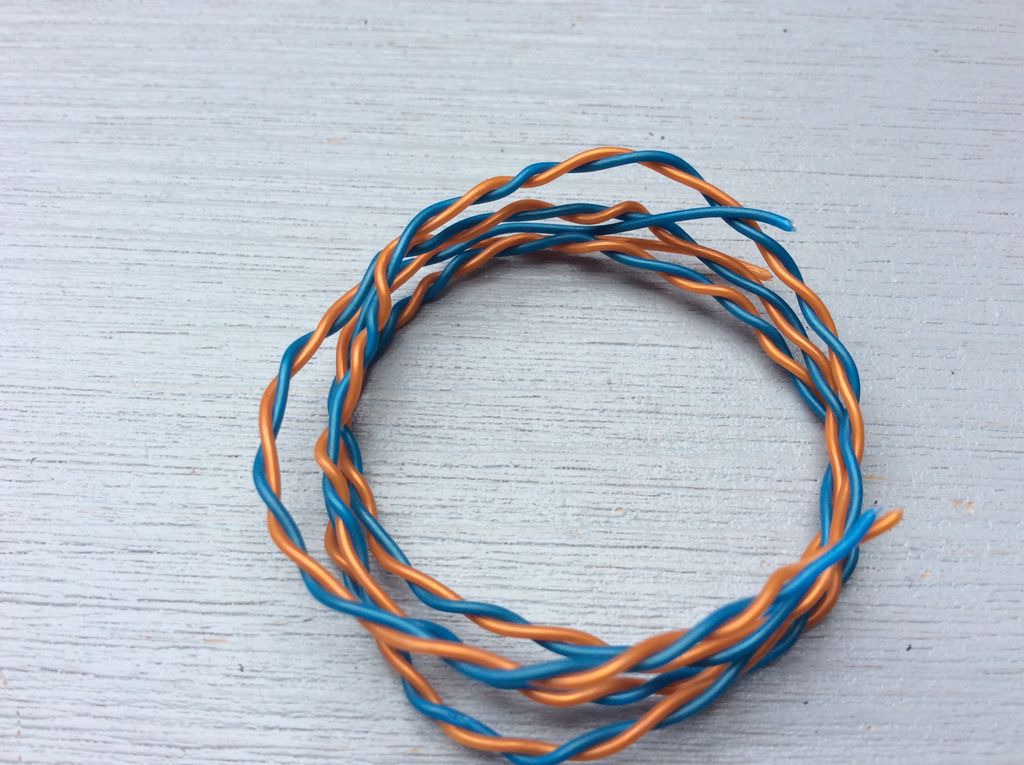
Some wire (at least 1-mm thick);
About 1-meter of thin nichrome wire (can be taken from a hairdryer);
About 15-cm of copper or metal wire;
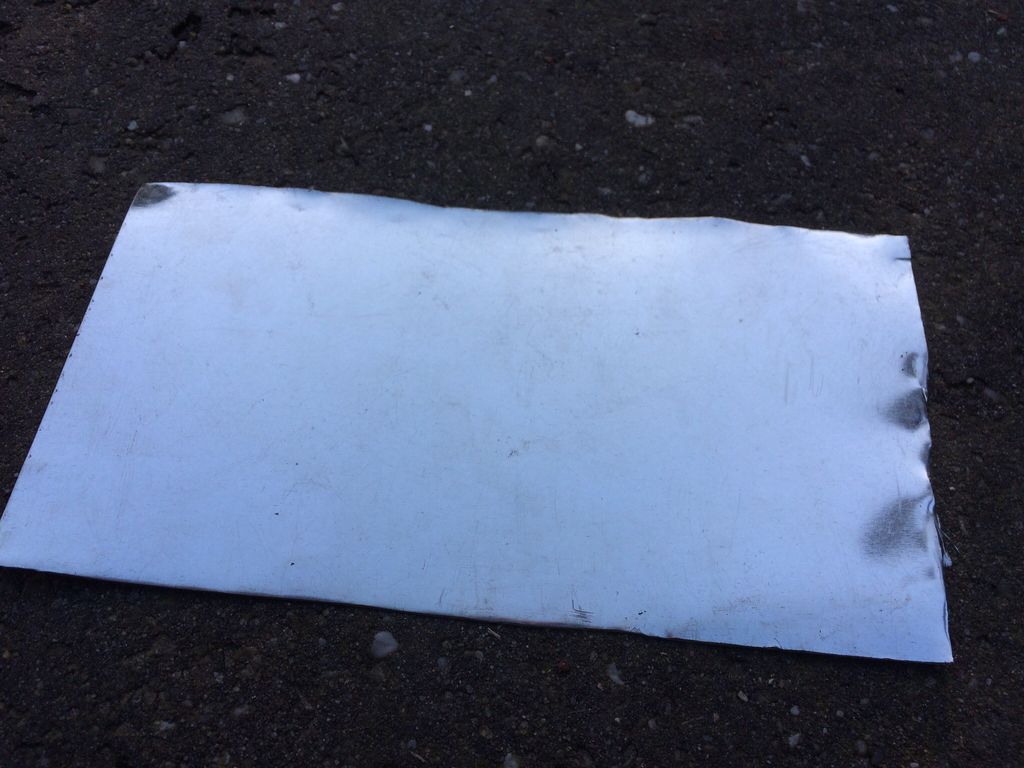
A piece of sheet metal (at least 4 x16 cm);
4 screws that fit in the holes of the fan snugly;
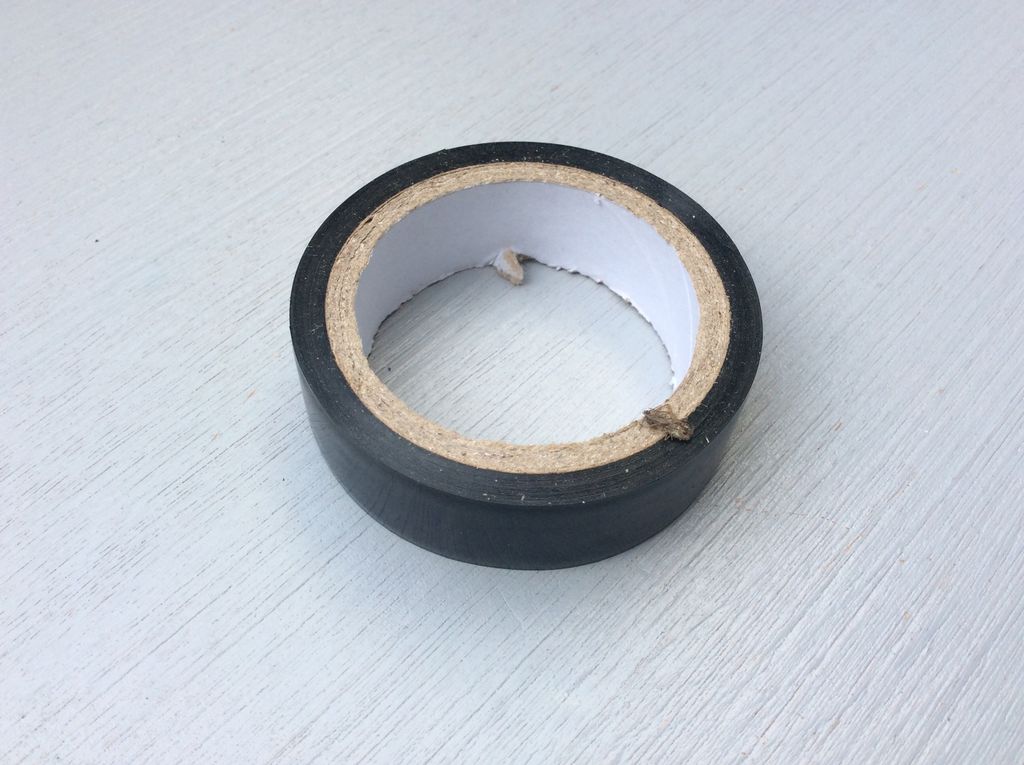
Some black electrical tape;
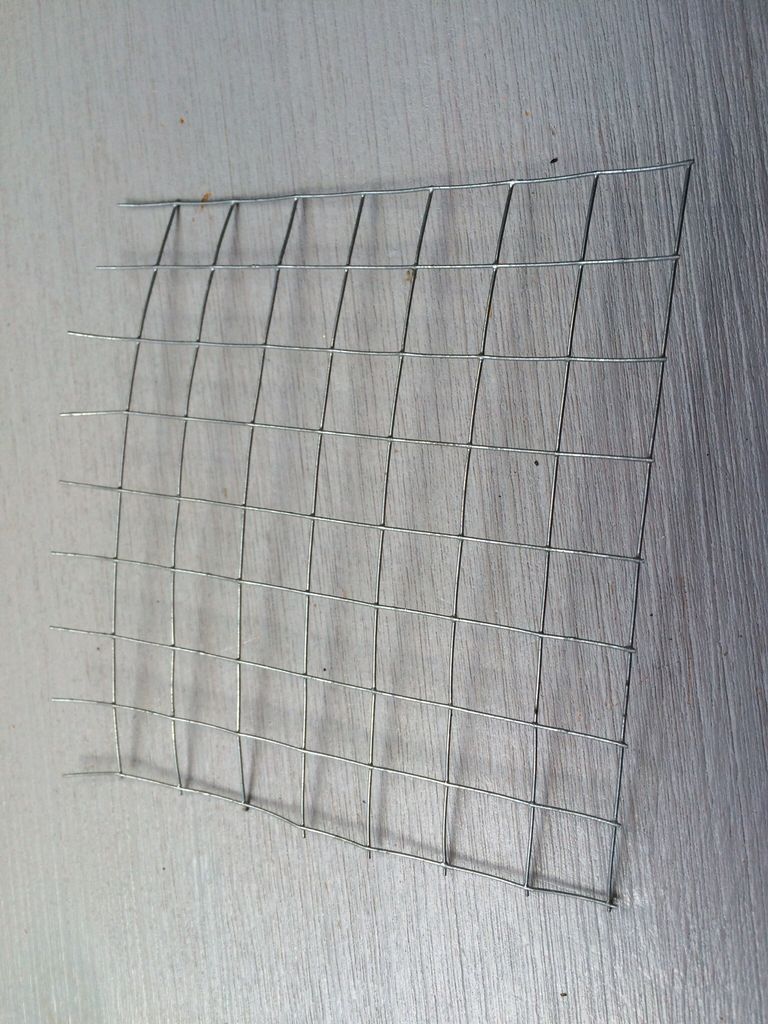
Wire mesh.


The tools you will need:
A soldering iron with solder
A hacksaw
Multimeter
Lighter
Screwdriver
A third hand
Step 2: The Parts Of The Heating Element
Before making a healing element, you will have to make some parts first.


Cut 5 pieces of nichrome wire that will draw about 1.4 Amps. You can get 5 pieces of the same length by connecting it to a 12volt power supply, measuring the current (it must be 1.4 Amps), measuring the length of wire and cutting. Or, the resistance of wire can be measured with a multimeter and cut when it is 8.6 ohms. The accuracy of multimeter is needed here.
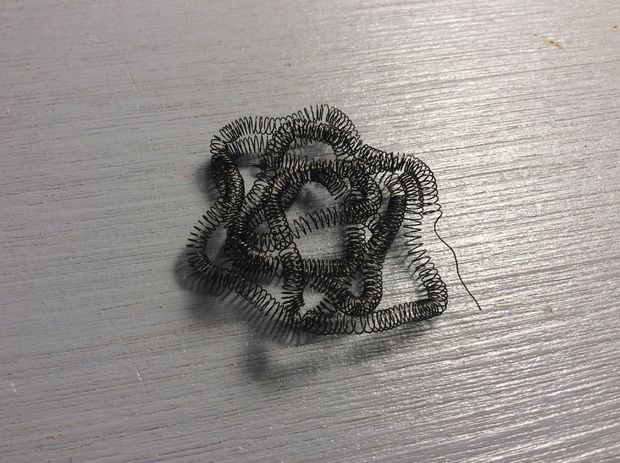
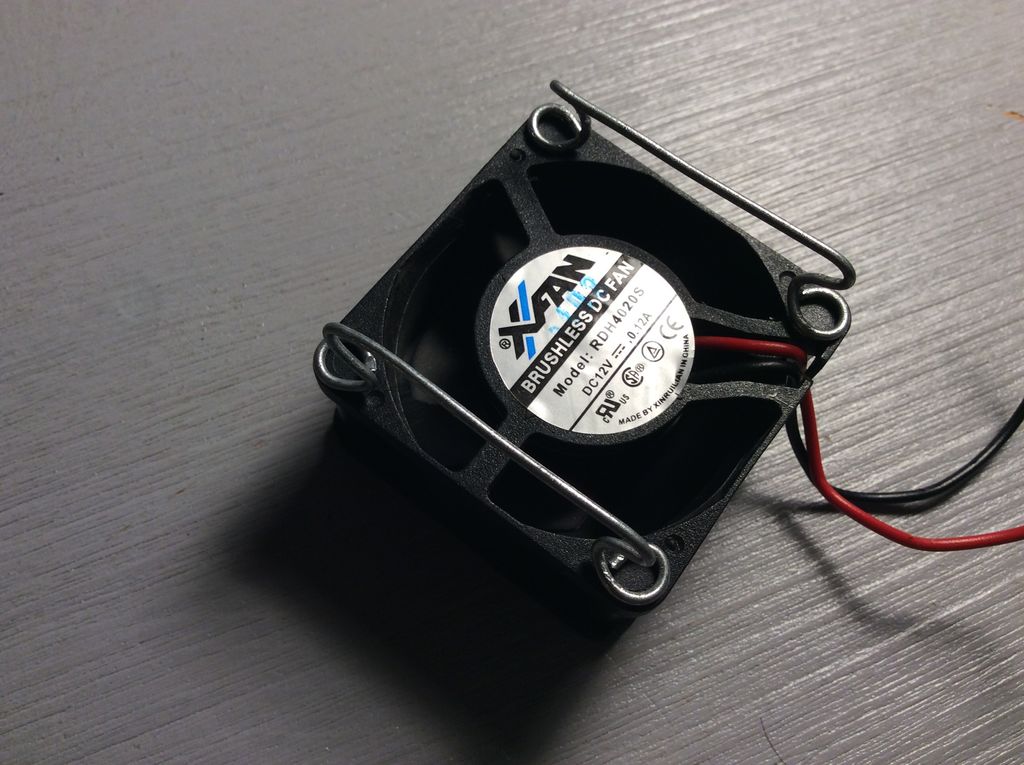
After getting 5 equal lengths of nichrome, we can go to the next action, which is taking a little rod of 2mm wide and wrapping the wires around it to make 5 springs.
If we bend two pieces of copper or metal wire in the shape on the following pictures, we can get two holders for the springs. You must make sure that they fit on your fan with the screws .
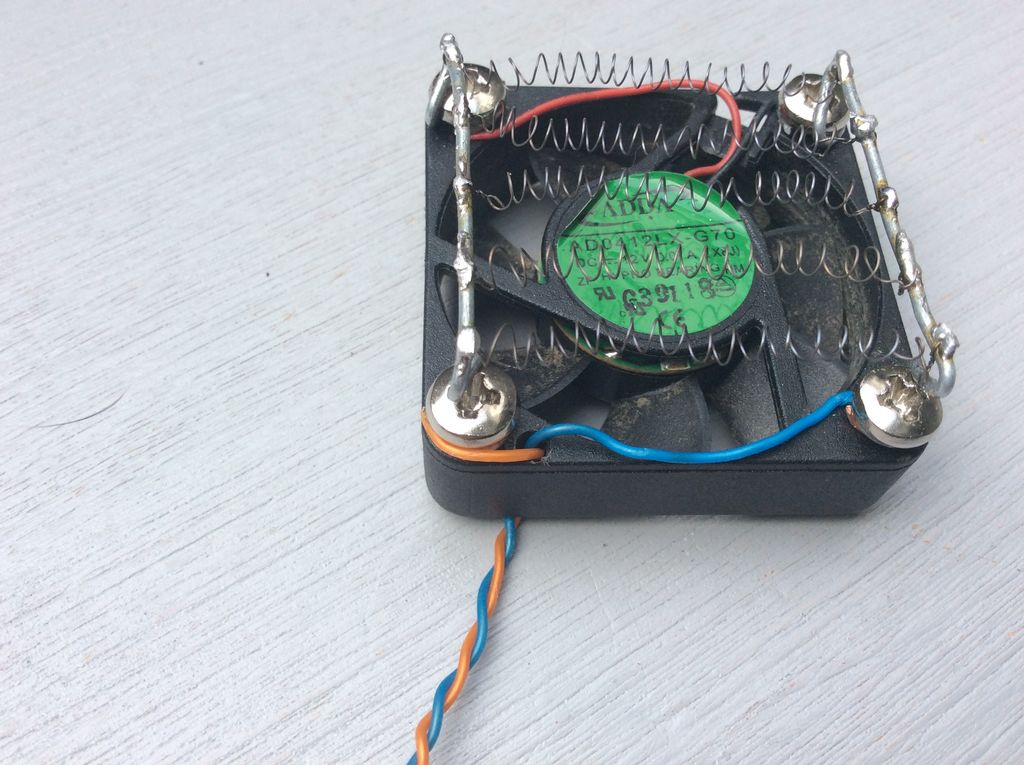
Step 3: Making The Heating Element

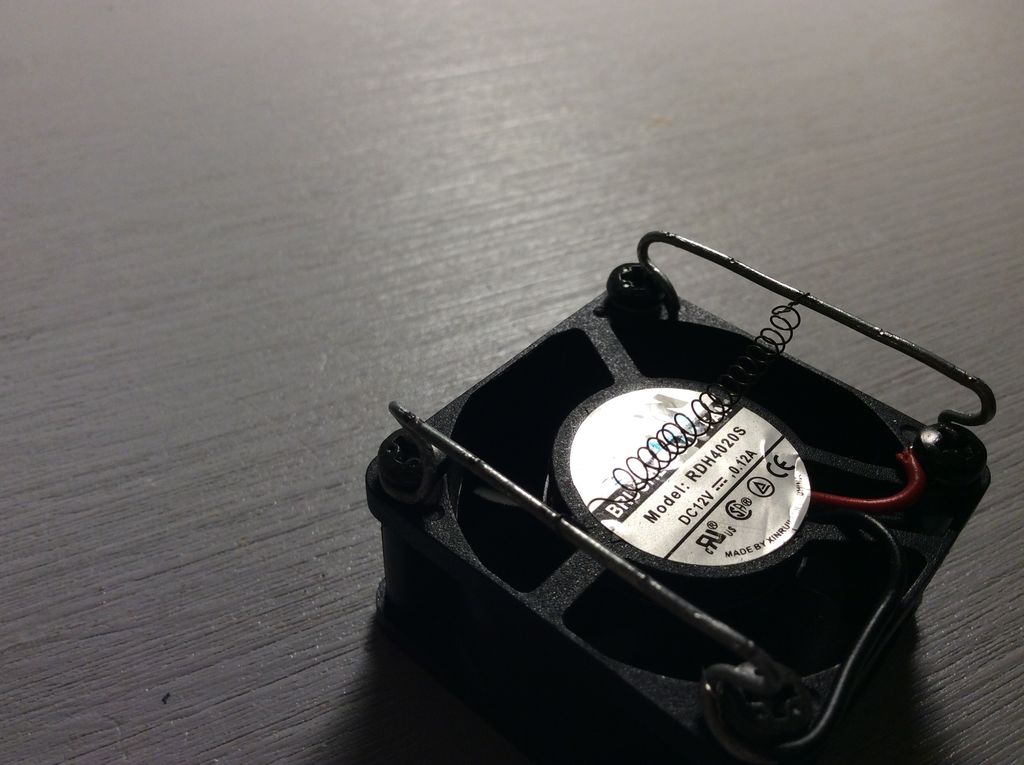
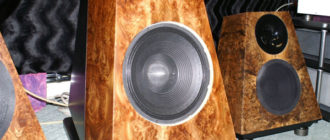
Firstly, we must screw on the metal parts with the screws on the fan. Make sure you put them above the fan to cool and not to heat up the screws and melt the fan. Now we have to get all our springs twisted to the two metal wires. Then we need to solder them in place in order to prevent them from sliding around. Only if we make a little bridge of solder over the wire can we solder nichrome wire.
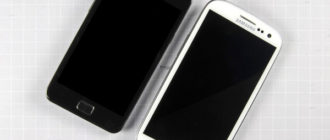
I used a smaller fan later, that is why you can see two different ones on the pictures.
Step 4: Connecting The Wires
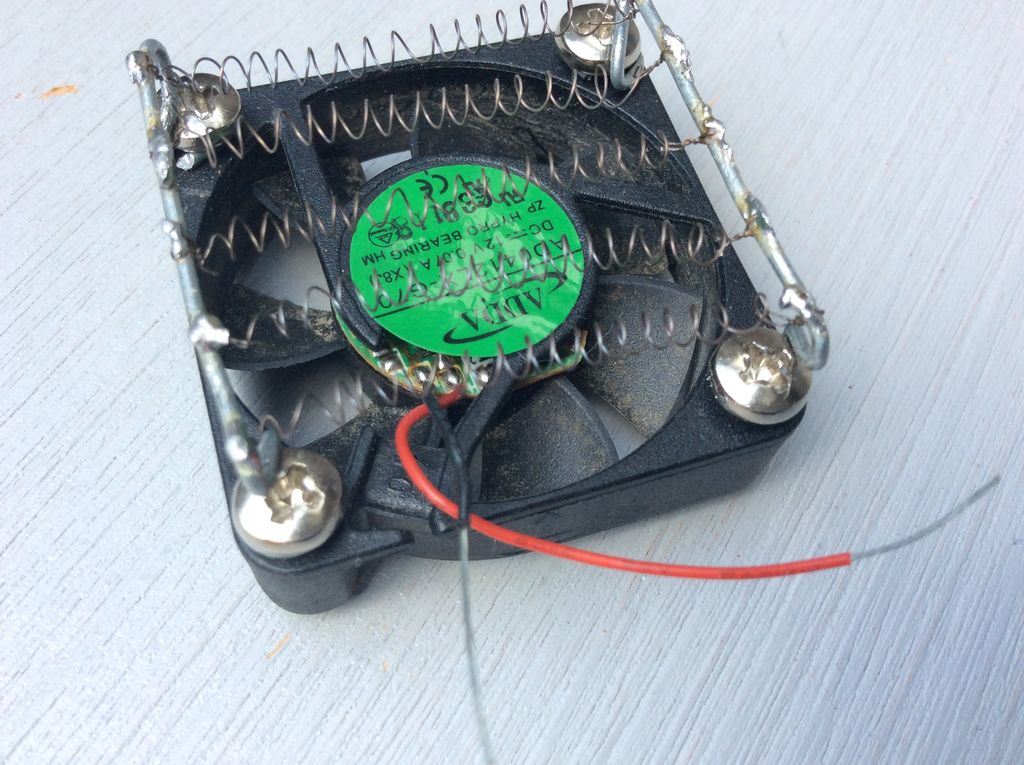

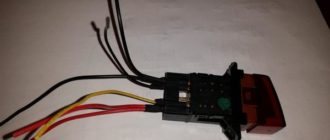
Now we have to cut the wires of fan shorter and take about 2cm of insulation of. Unscrew the screws a bit to connect the wires of the fan and screw the screws back in place. Then we drill a small hole in the fan and feed the wires through it. Now we take a bit of insulation of to wrap the wires around the screws (first unscrew and then screw them tight again). You must make sure that the polarity is the same as the fan. You need to get at least 1mm thick wire because my experience showed that 0.5mm thick wire got pretty hot because this heater draws about 7Amps.
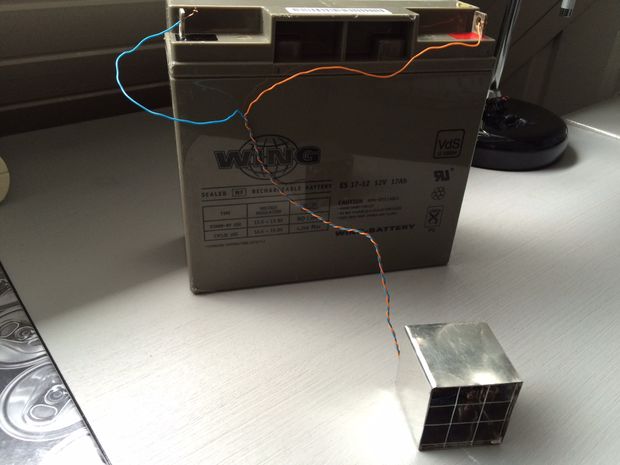
Now you can connect it to a 12 volt power supply (that delivers at least 7Amps) to test. I used a 17A lead acid battery. To check if it works we make sure that when we connect it the fan should start blowing air and the nichrome wires should start to get hot. If you doubt that one of the springs is not heating up just change the polarity (the fan will not blow) and you will see which of nichrome wires does not get orange. Do not do this too long so you avoid overheating. If you find a non-working spring, just check the solder connections.
Step 5: The Case
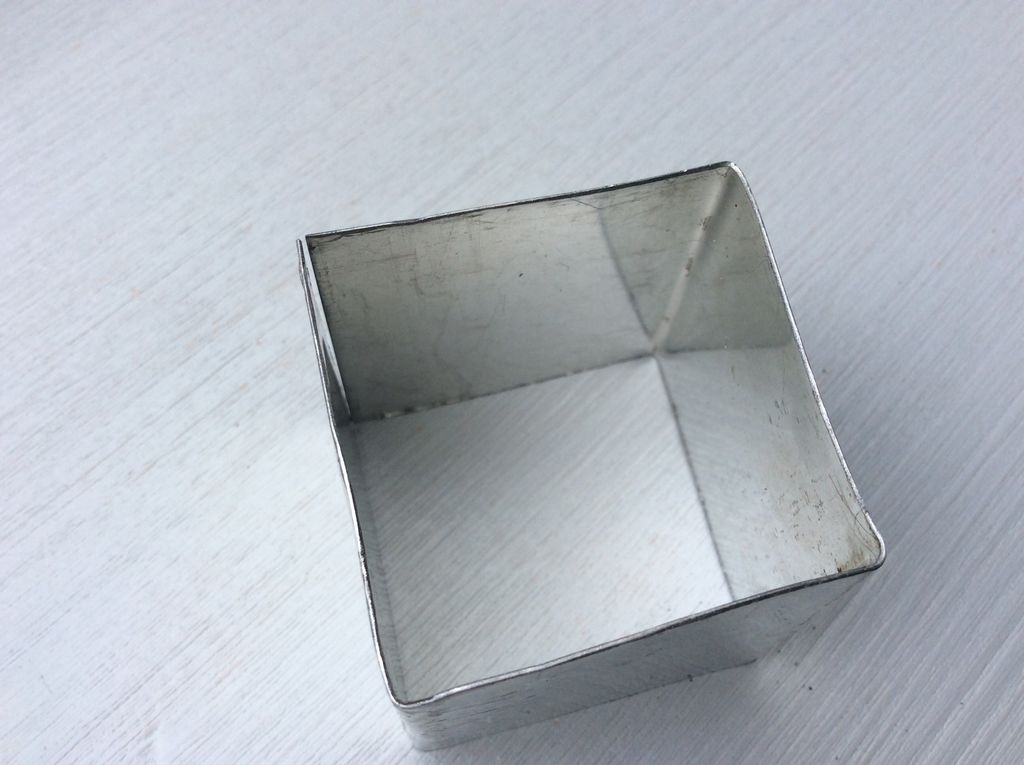
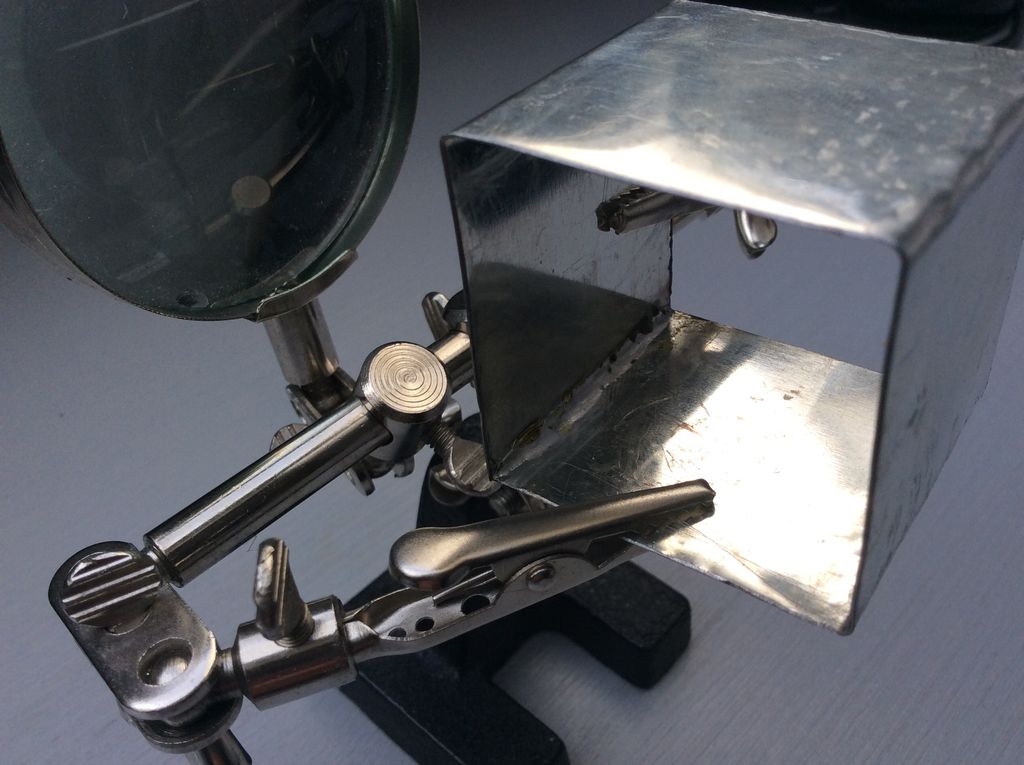
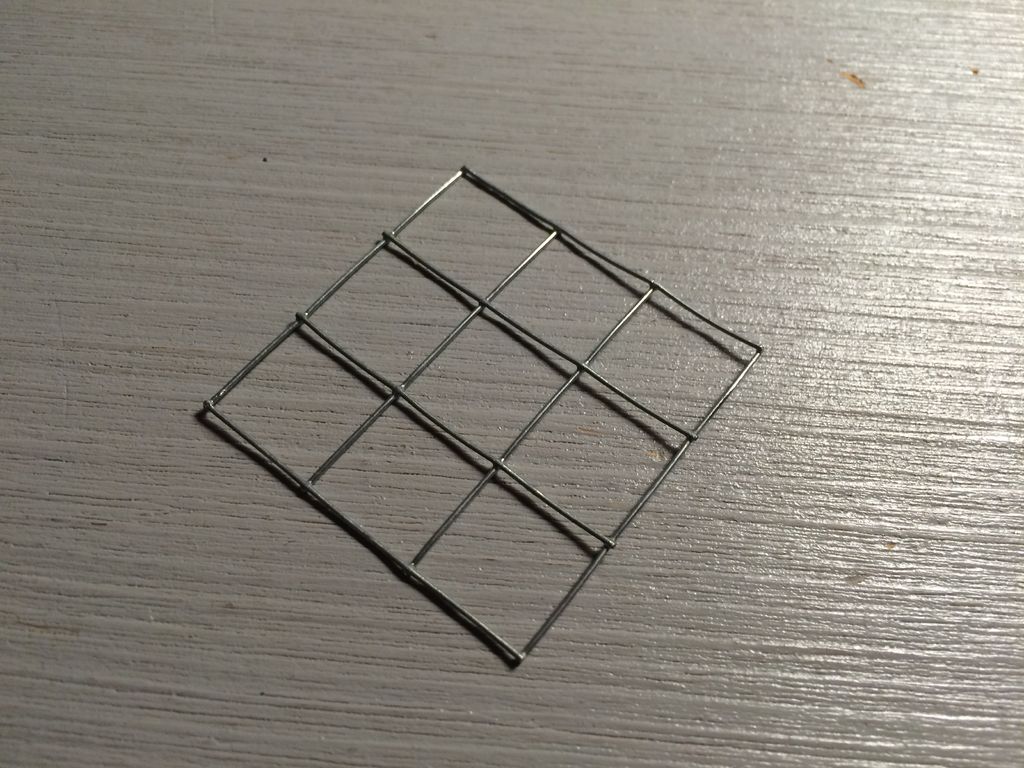
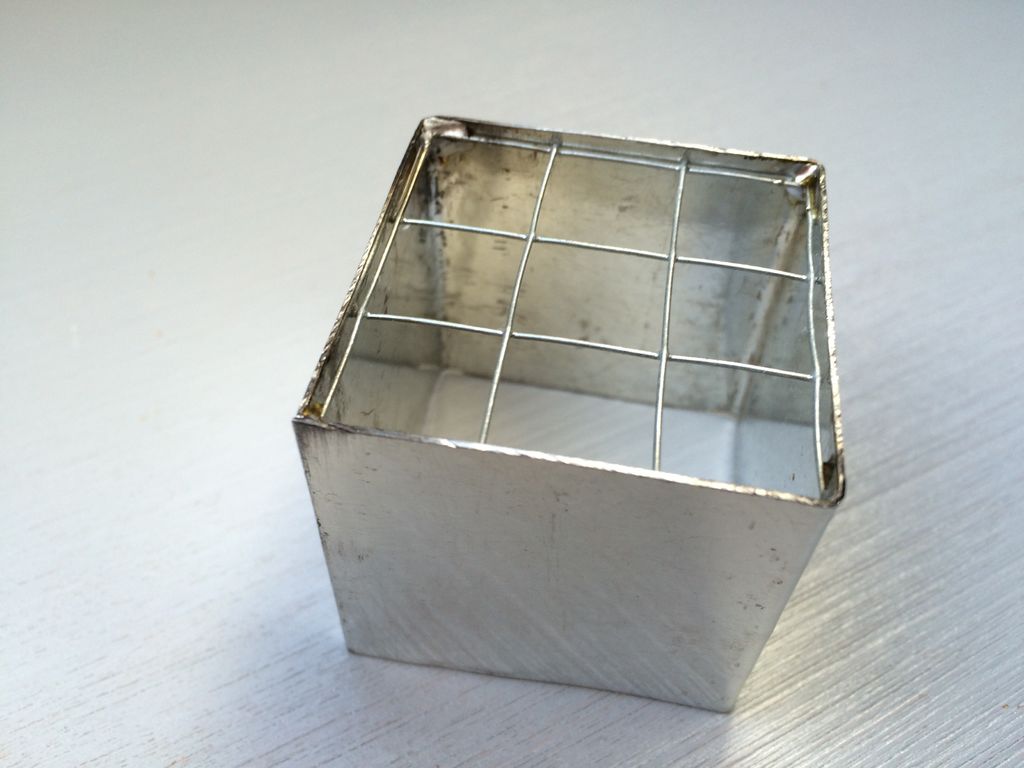
Now we are going to make a case so you will avoid burning yourself. We take the sheet of metal and cut it to 4x16cm and bend it into a square of 4x4cm. The heater and the fan must fit in it. Also we need a square of 3×3 square of the wire mesh. It must fit into the metal square. You will need your third hand and place the square in it like this to solder it. Now you need lighter, solder and third hand with yourself. Go outside, heat the square up and let the solder flow in the groof and wait a while so it cools off. If it is right, you can solder on the wire mesh with the lighter as well. Be careful with the metal square and clean it when it gets black. In order to mount the heater in place, put some electrical tape around to prevent a short sircuit and make it fit snugly (just a friction fit). I cut 2mm of my electrical tape to prevent it from coming too close to the nichrome wires. And do not forget to cut away the excess tape. Now just press it in the metal case. We need to check that there is no contact between each wire and the metal case.
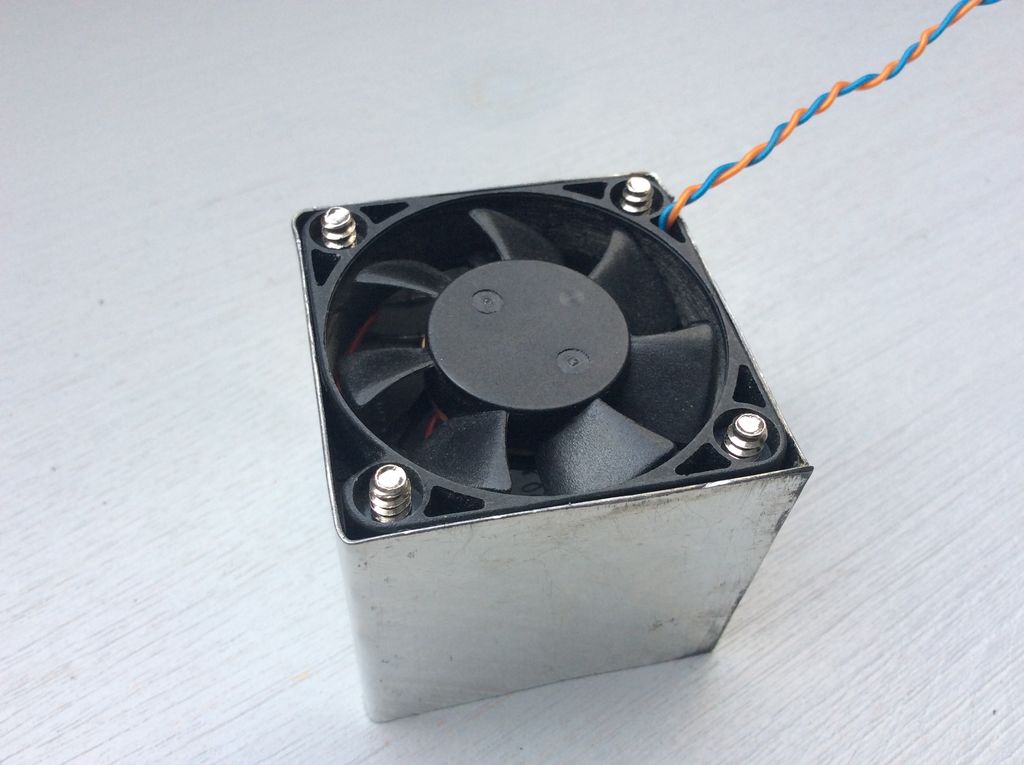
Step 6: The Finished Product
Now our little heater is ready to be used. I warn you that it is not totally safe so be attentive and regularly check its temperature. Make it all at your own risk.
I hope you liked this invention. If you have any questions, you are welcome to ask them in the comments.


I’m not that much of a online reader to be honest but your sites really
nice, keep it up! I’ll go ahead and bookmark your site to come back in the
future. All the best